
- Stock Trading Guide
- Bond Trading Guide
- Derivatives Trading Guide
- EzTrade on Website
- EzTrade On Mobile Devices
- ETF Trading Guide
- Covered Warrant Trading Guide
- Securities Custody Guide
- Securities Trading Settlement
- Guide to Information Changes
- Guide to Corporate Actions
- Shareholding Management - EzLink
- Events Calendar
- Terms of Use
Interface and Price Board Settings
- Stock Trading Guide
- Bond Trading Guide
- Derivatives Trading Guide
- EzTrade on Website
- EzTrade On Mobile Devices
- ETF Trading Guide
- Covered Warrant Trading Guide
- Securities Custody Guide
- Securities Trading Settlement
- Guide to Information Changes
- Guide to Corporate Actions
- Shareholding Management - EzLink
- Events Calendar
- Terms of Use
The EzTrade Web trading platform enables users to customize the interface and configure the displayed widgets for individualized preferences, providing more personalized and convenient trading experiences.
All settings are individually saved for each trading account. Therefore, if multiple accounts are logged in on the same device, you must configure the interface individually for each account.
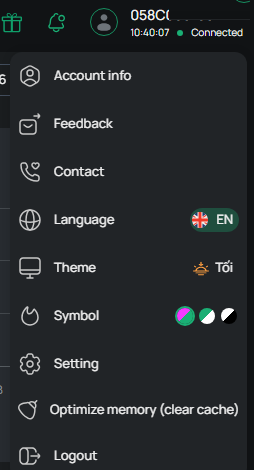
Step 1: After logging in, click the icon  in the upper-right corner of the screen, then select Settings.
In the Interface section, you are free to configure the following options: Light/Dark Mode, Display Settings, and Language.
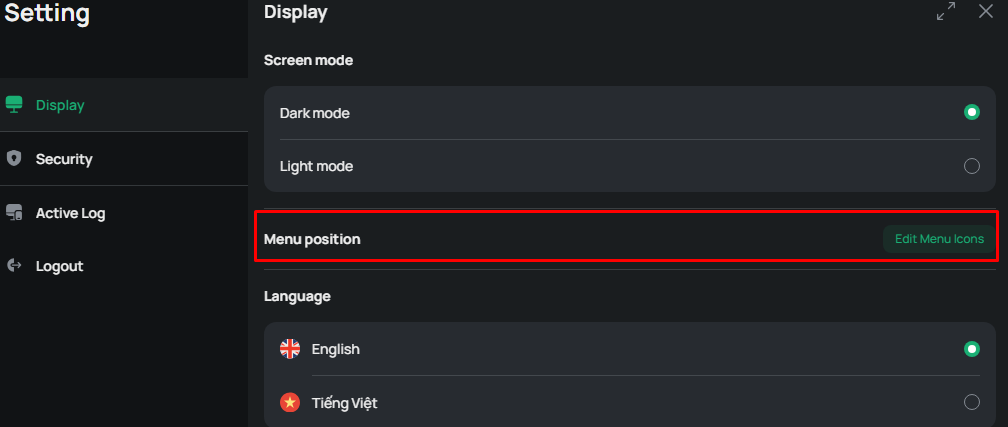
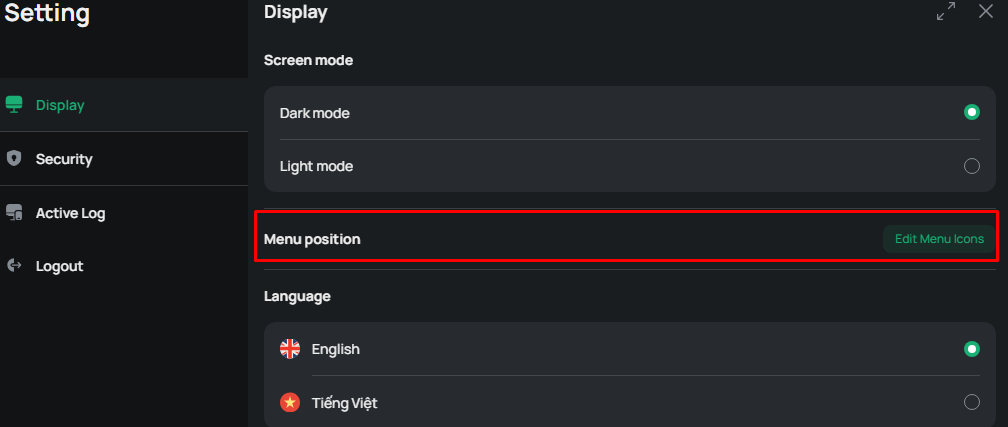
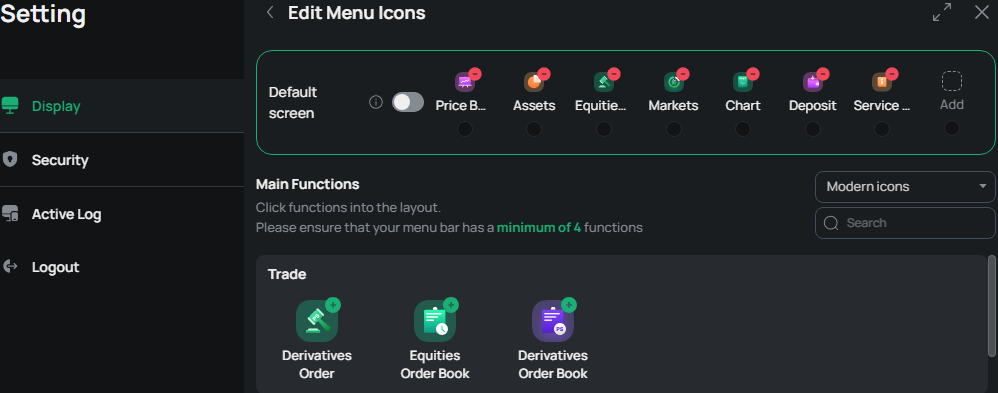
Setting up Favorite Shortcuts to customize the Favorite Shortcuts menu:
Click Menu Position to open the configuration screen.
You can add or remove functions from the menu bar (at least four functions are chosen) and choose an icon style (Monochrome, Modern, or Outline) for the function list, as illustrated below.
1. Display settings
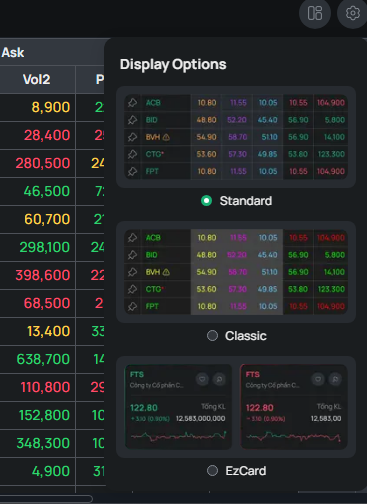
On the Price Board screen, click on icon  and then choose one of the following display modes: Standard / Classic / EzCard
- Standard: Apply the new market watch color scheme
- Classic: Use the market watch color scheme of the previous version of EzTrade Web
- EzCard: Display index cards
2. Index Settings
- Click on icon  to configure the “Price Board” and “Index” settings.
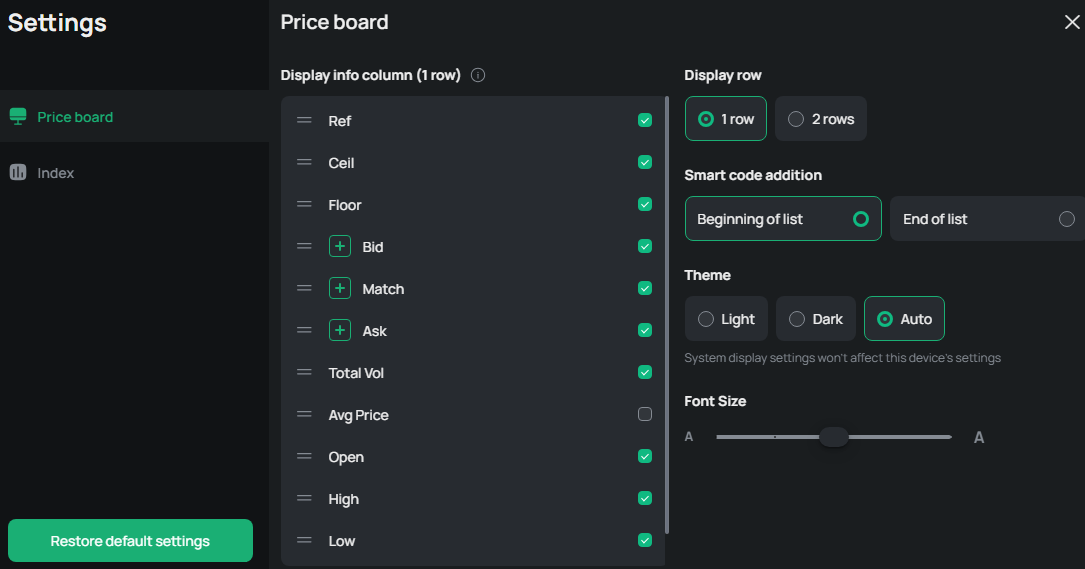
- Column display:
- Drag and drop icon
 to rearrange the column order
 - Toggle icon
 on/off to show or hide columns on the Price Board
 - Select +/- icon to increase or decrease the displayed Bid / Matched Orders / Ask / Foreign Investors columns
- Row display: 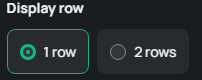
- 1 row
- 2 rows
- Auto: If 4 price levels are selected, the Price Board will automatically display in two rows.
- Interface display: 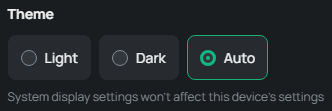
- Auto: Automatically changed Dark/Light theme to the “Display Settings”
- Light: Display the Price Board with a white background.
- Dark: Display the Price Board with a black background.
- Index Settings: The minimum number of displayed index cards is 1 and the maximum is 10.
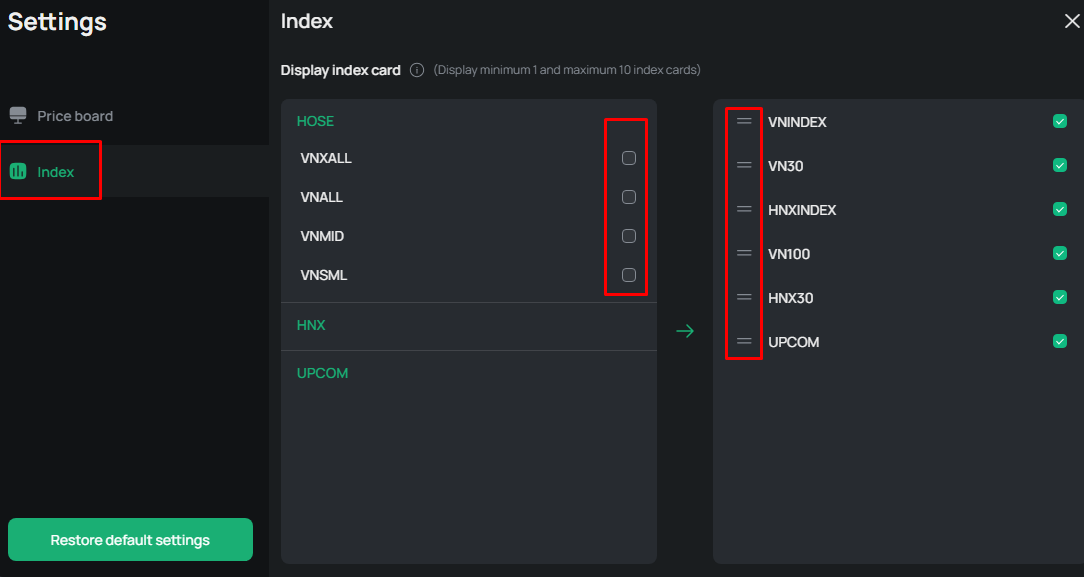
→ Click on  to restore the default settings.
3. Watchlist settings
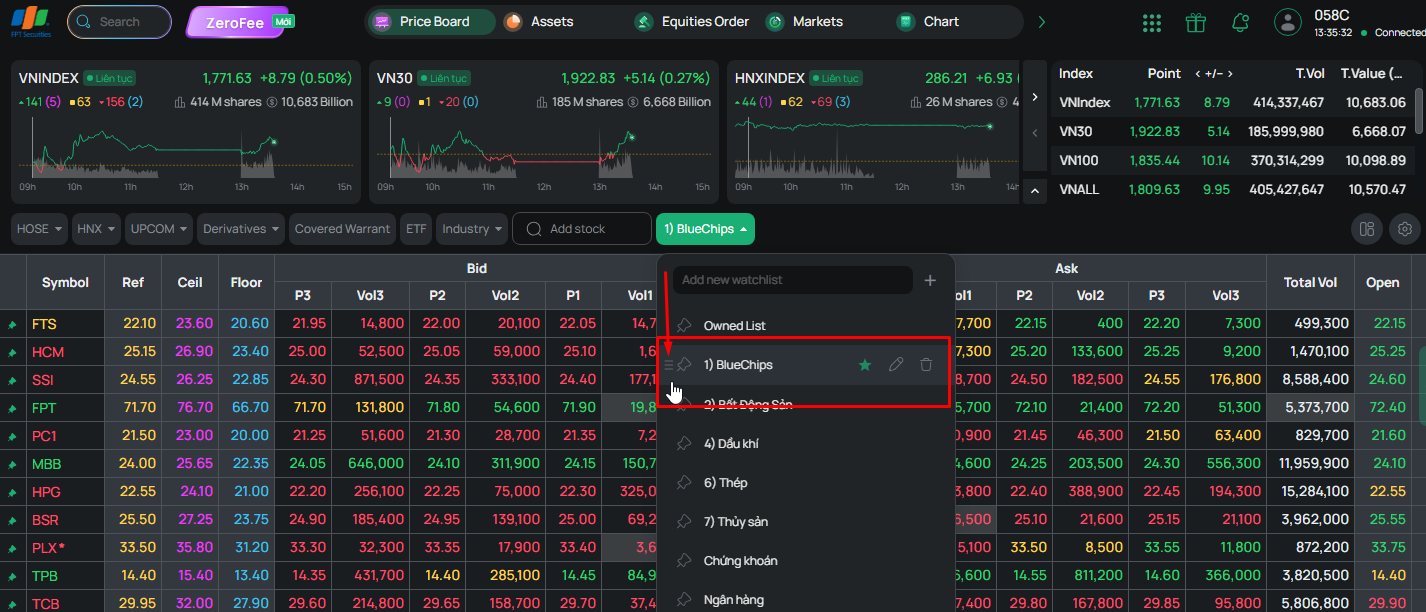
- Hover over “Owned List” to add a new watchlist.
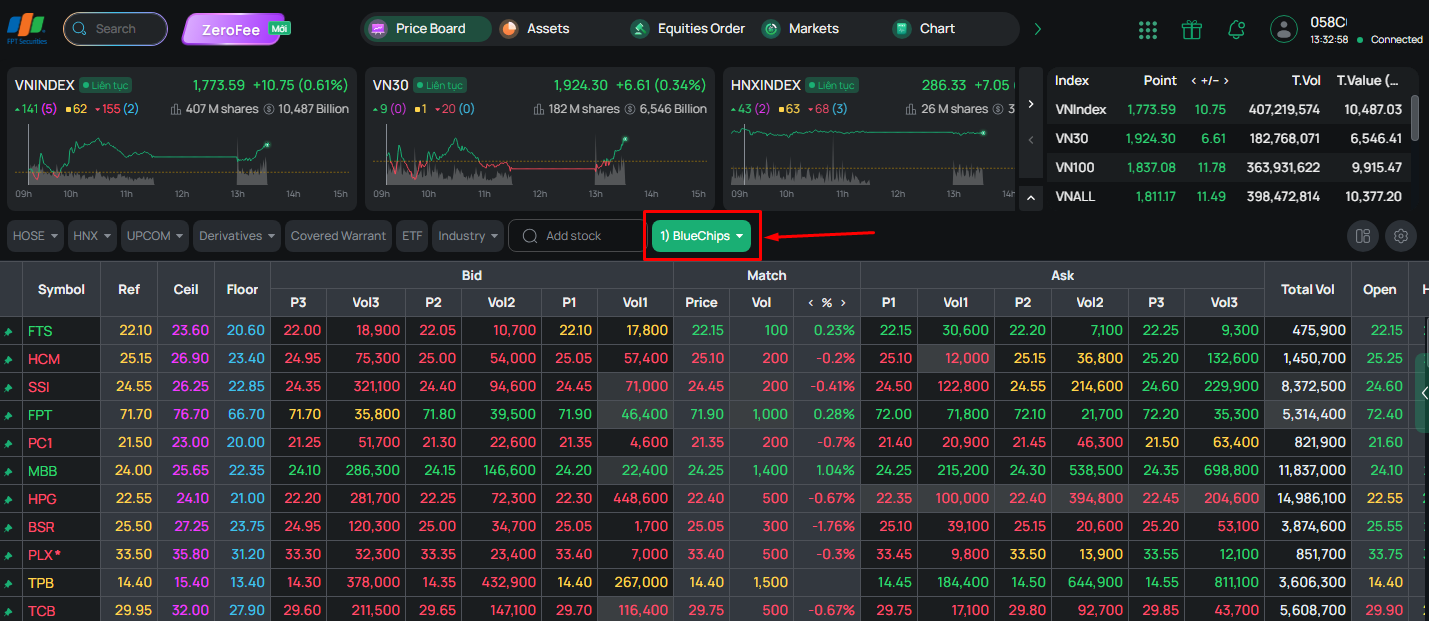
- Click the pencil icon to rename the watchlist
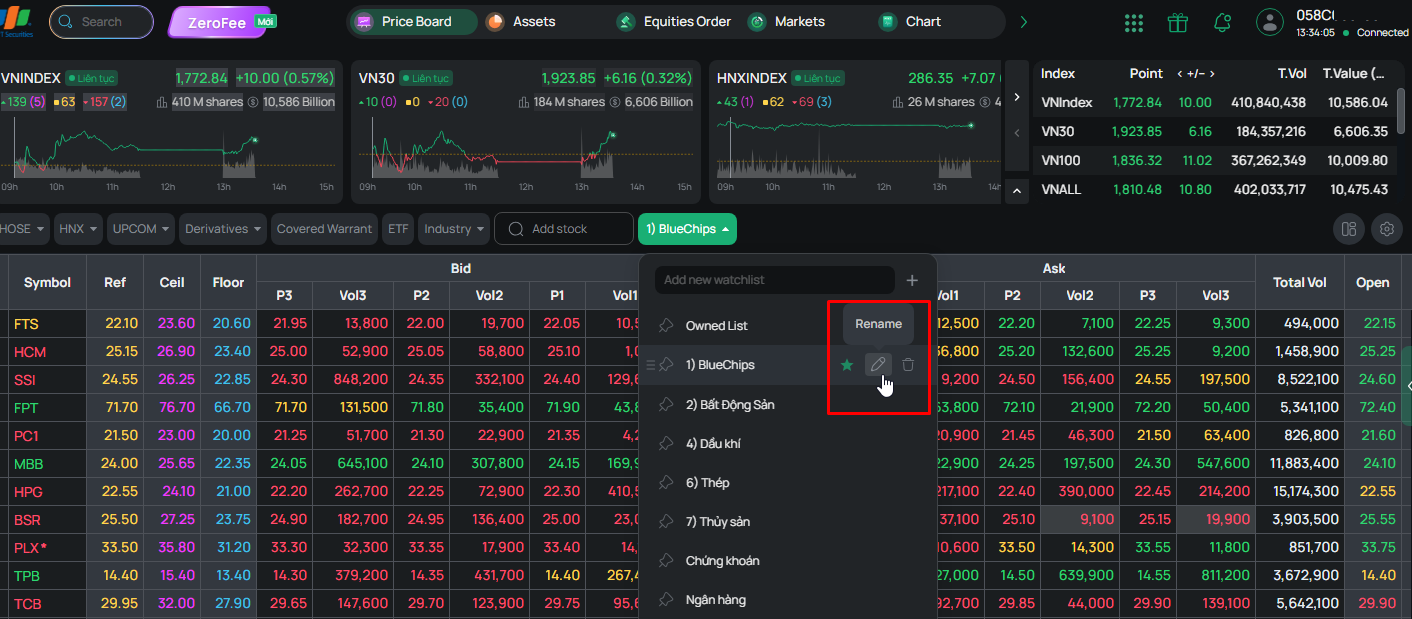
- Hold and drag the 'three-row' icon to move the watchlist up or down (the Owned List cannot be moved).
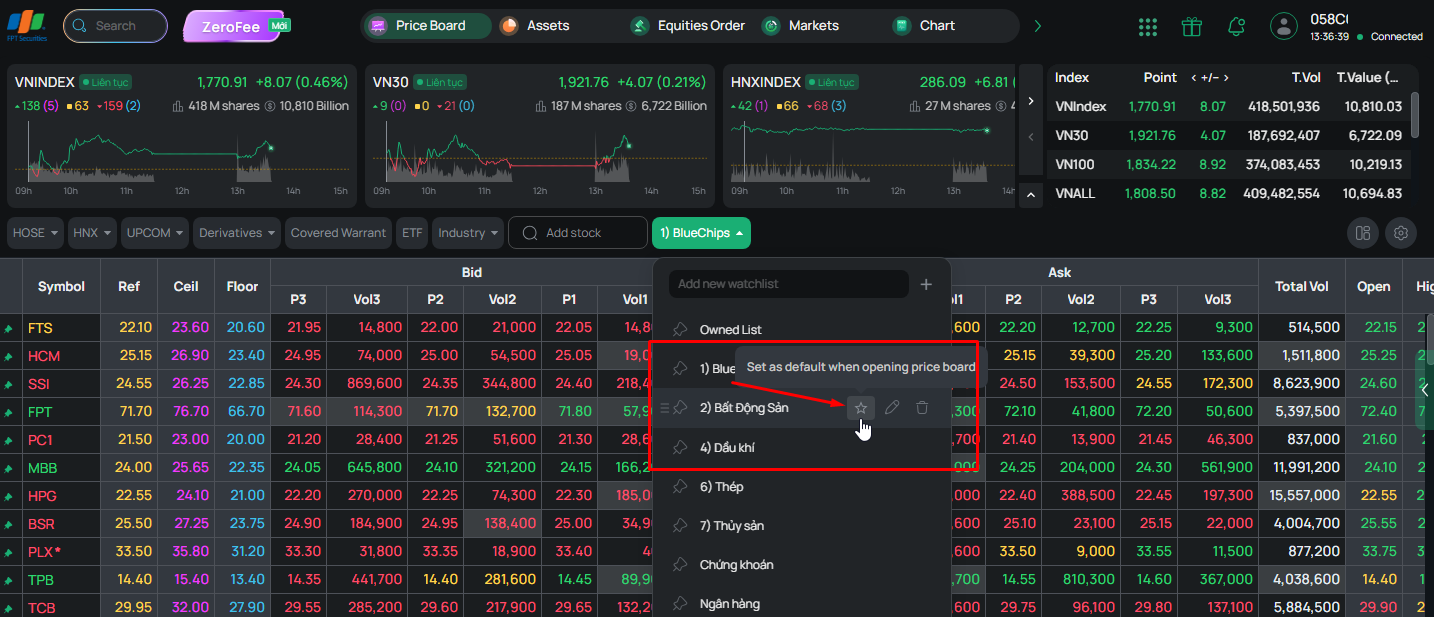
- Select  icon to set the watchlist as the default.
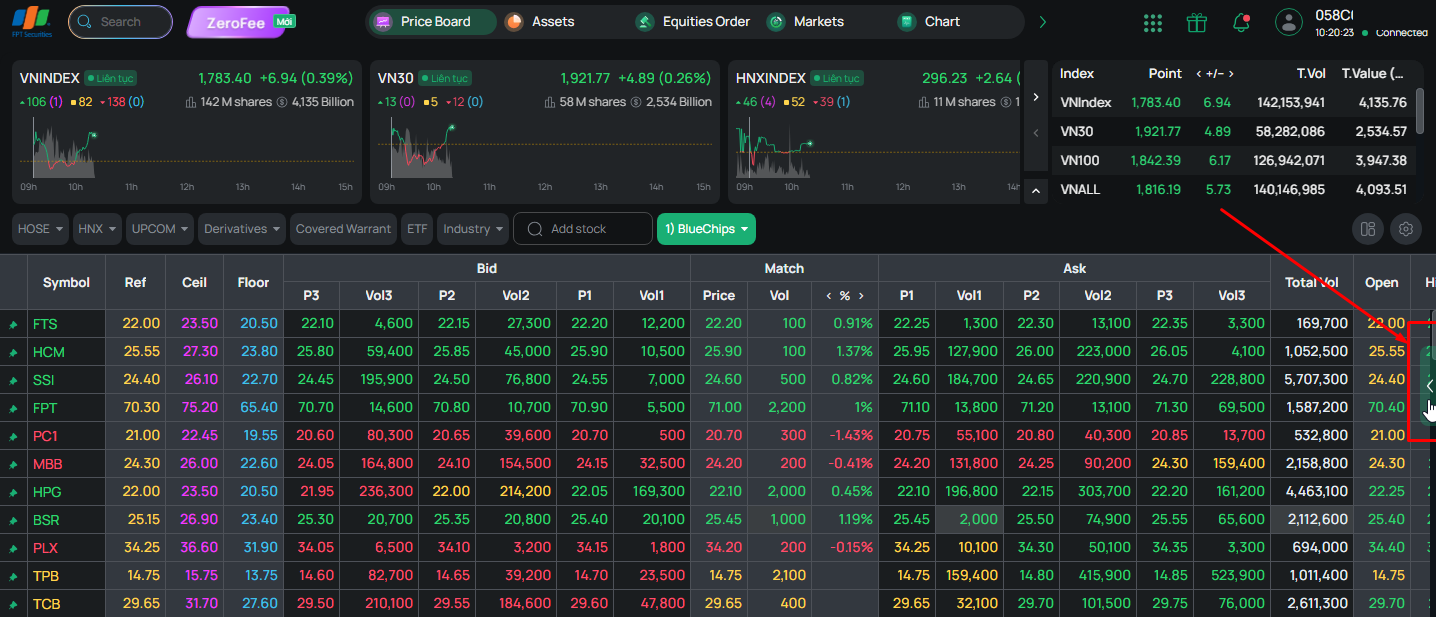
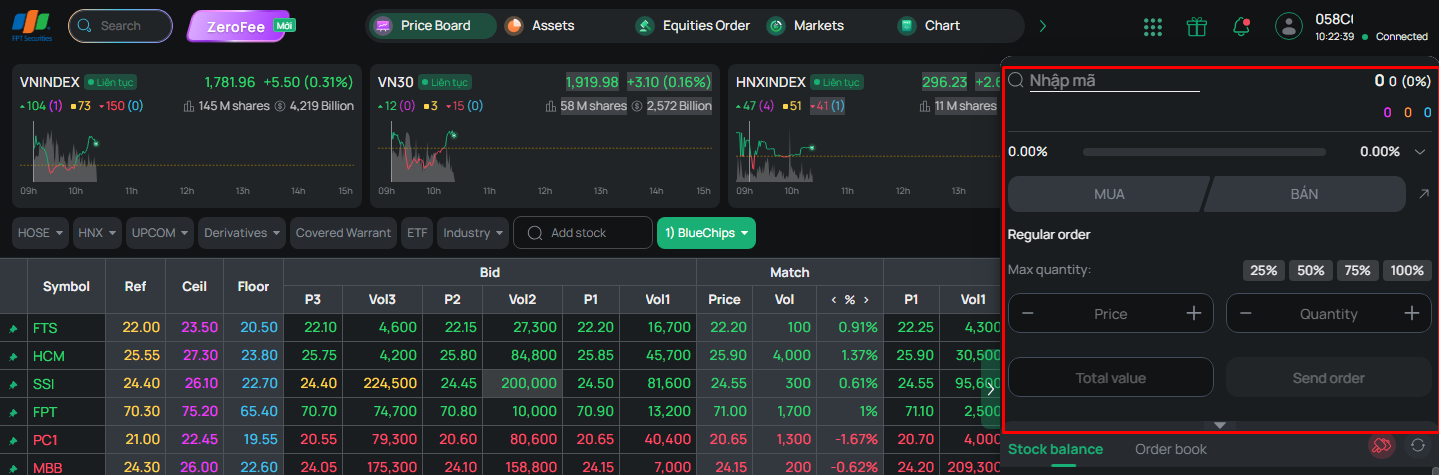
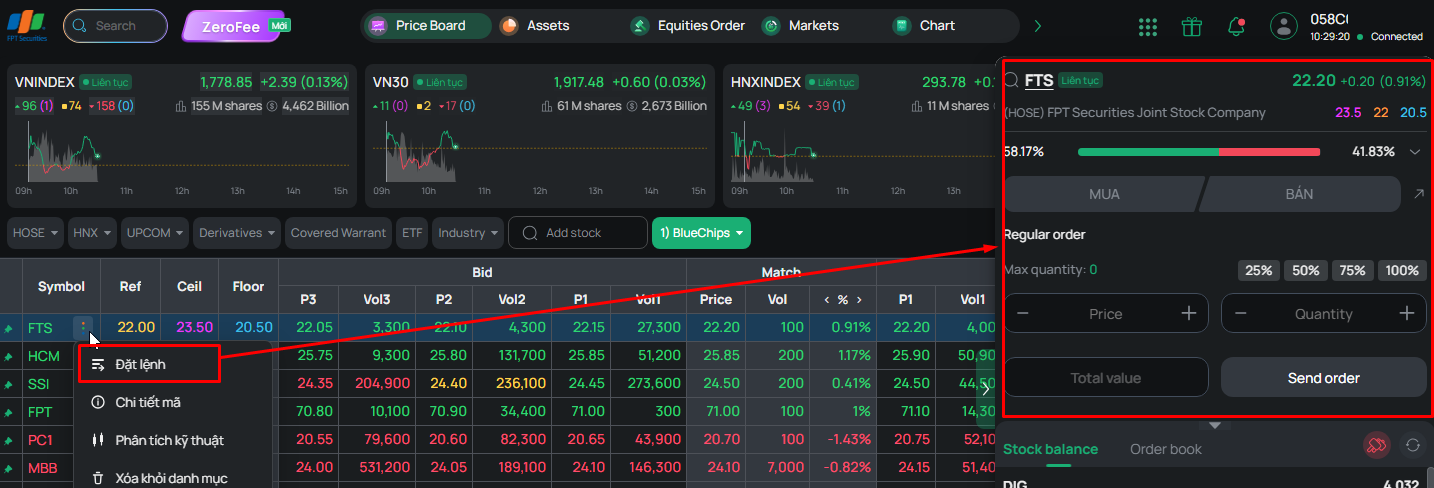
- Click the 'arrow' icon on the Price Board to open the Quick Order screen.
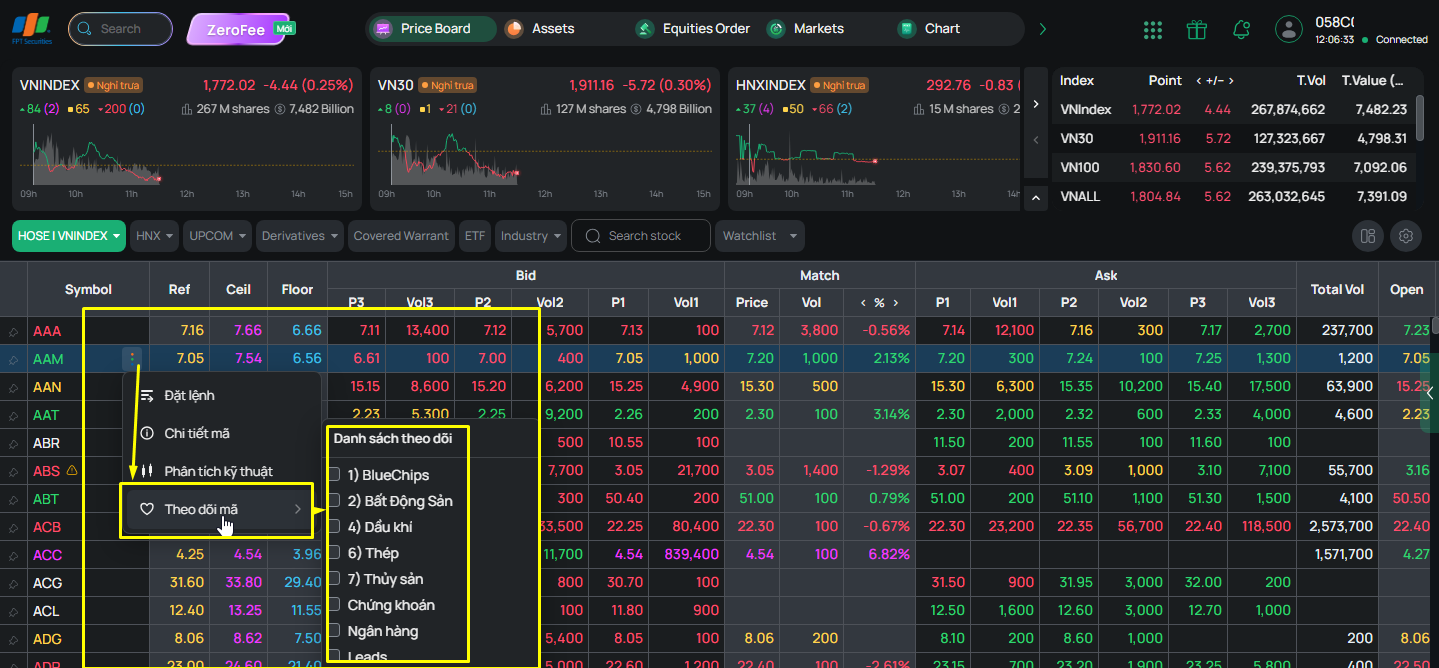
- To view stock information, click the three-dot icon.
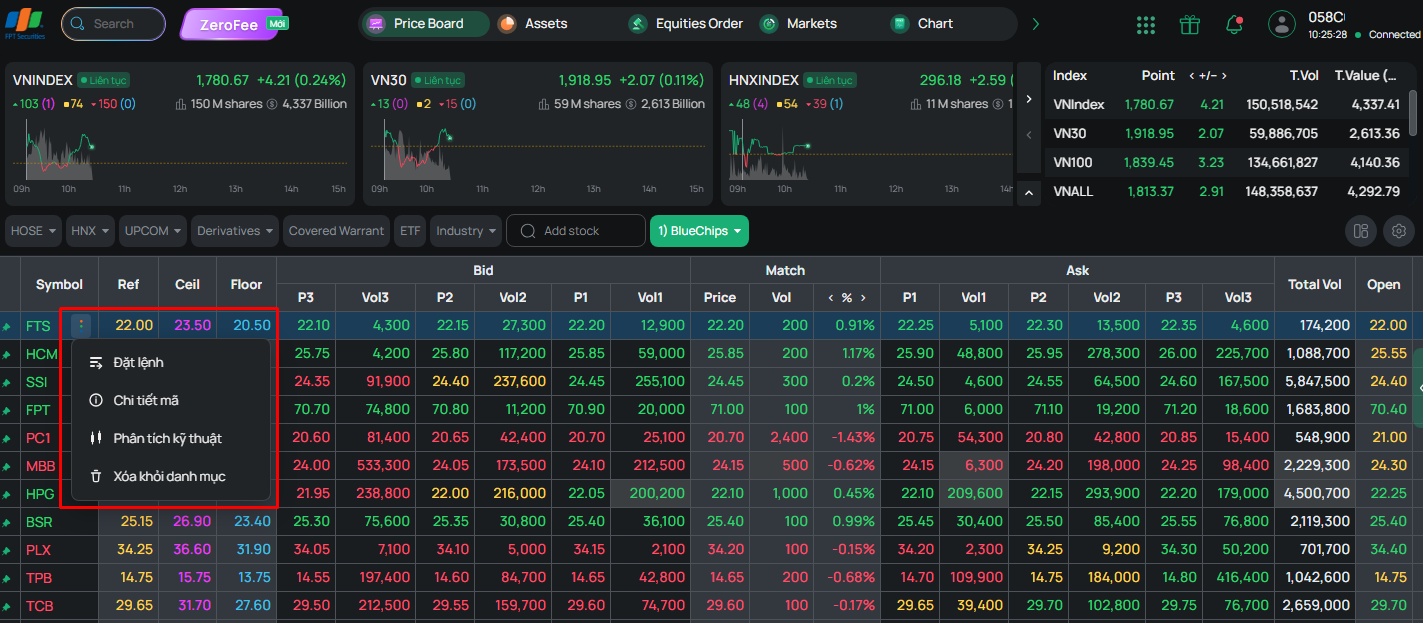
- Click Place Order to open the Quick Order screen.
- Stock details
- Technical analysis
- “Watch Stock” function: copy the stock symbol to another watchlist.